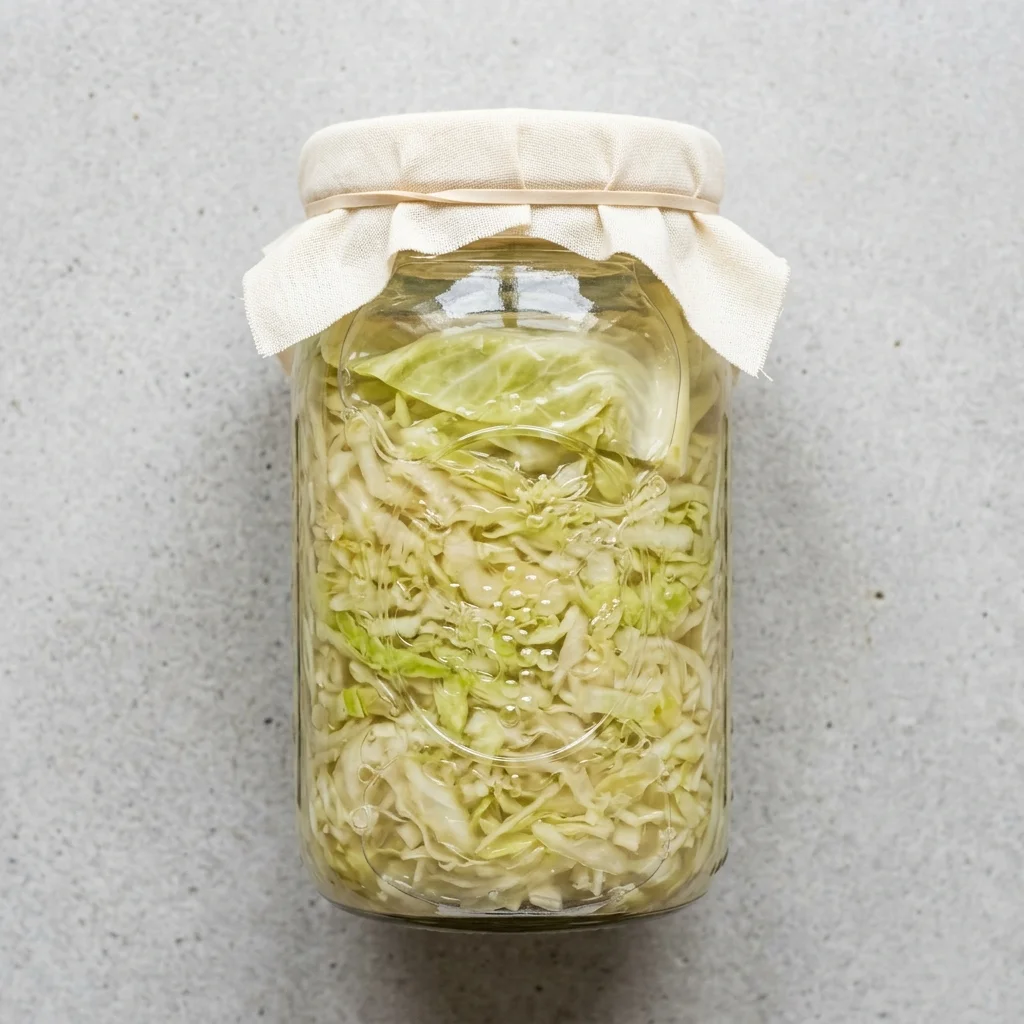
Tangy, crunchy, and deeply satisfying, this homemade fermented cabbage is one of those kitchen projects that feels almost magical — just two main ingredients and a little patience transform a humble head of green cabbage into something genuinely complex and delicious. Because the only things going into the jar are cabbage, non-iodized salt, and optional caraway seeds, there is absolutely nothing to second-guess here — no hidden additives, no cured meats, no sneaky animal-derived brine to worry about. The process is pure fermentation: salt draws out the cabbage's natural juices, and those juices become the brine that keeps everything safely submerged while beneficial bacteria do their slow, bubbling work. Massaging the cabbage until it goes limp and glossy is genuinely satisfying, and packing it tightly into the jar feels like setting a little science experiment in motion. You can start tasting at the one-week mark for something mild and crisp, or let it ride for up to four weeks if you want a deeper, more assertive sourness — the choice is entirely yours. Once it hits the fridge, it keeps beautifully and works on everything from grain bowls to braised dishes to a simple fork-straight-from-the-jar snack.
 About Fig
Fig is a food discovery app that helps you find foods and recipes that fit your dietary needs. Whether you have food allergies, intolerances, or follow a specific diet, Fig makes it easy to eat with confidence.
Learn more →16 servings
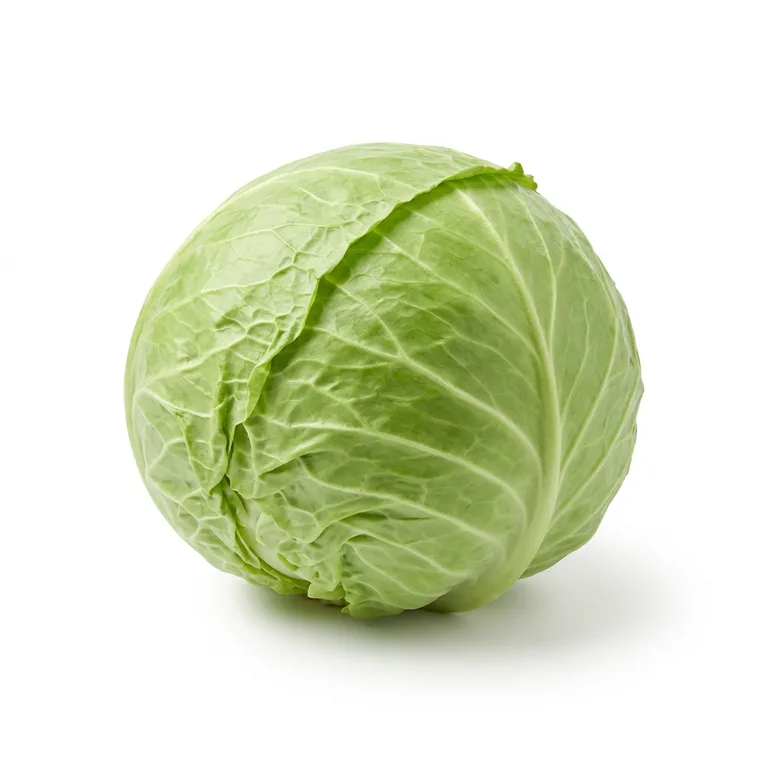
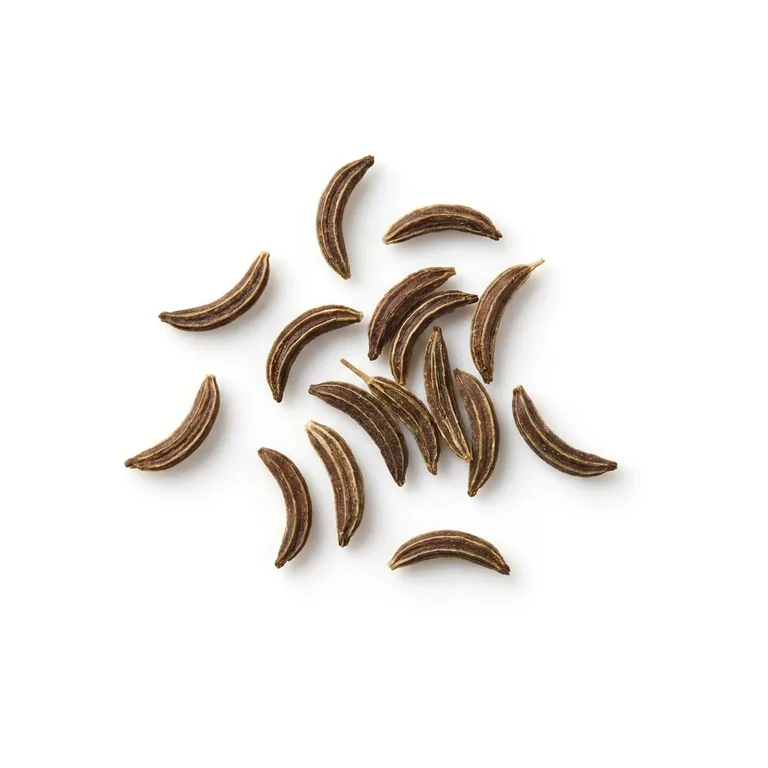
Quarter the cabbage through the core, cut out and discard the core, then slice each quarter crosswise into thin shreds about 1/8-inch thick using a chef's knife or mandoline. Reserve one or two of the large outer leaves before discarding the rest.
Transfer the shredded cabbage to a large mixing bowl. Sprinkle the salt evenly over the top and toss to distribute. Let it sit for 5 minutes, then massage and squeeze the cabbage firmly with both hands for 8–10 minutes, until it has released a significant amount of liquid and the shreds feel limp and wet — the brine should pool visibly at the bottom of the bowl.
Create a Fig account for step-by-step instructions, access to our full recipe library, and more!


 (16k)
(16k)